


The MCP9808 digital temperature sensor is one of the more accurate/precise we've ever seen, with a typical accuracy of ±0.25°C over the sensor's -40°C to +125°C range and precision of +0.0625°C. They work great with any microcontroller using standard I2C. With three address jumpers on the back, you can connect up to 8 to a single I2C bus without address collisions. Best of all, a wide voltage range makes it usable with 2.7V to 5.5V logic!
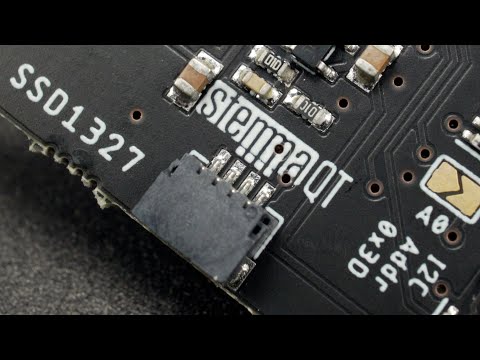
Unlike the DS18B20, this sensor does not come in through-hole package so we placed this small sensor on a breakout board PCB for easy use. The PCB includes mounting holes, and pull down resistors for the 3 address pins. We even wrote a lovely little tutorial and library that will work with Arduino or CircuitPython. You'll be up and running in 15 minutes or less.
Some quick specs:
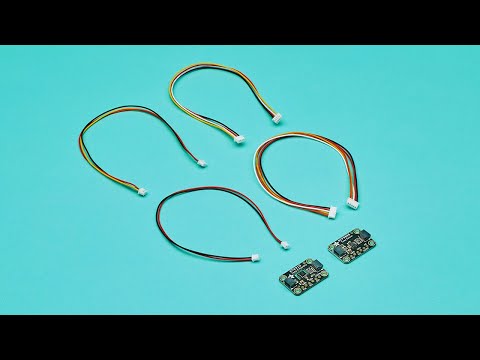
To get you going fast, we spun up a custom made PCB with the MCP9808 and some supporting circuitry such as pull-up resistors and capacitors, in the STEMMA QT form factor, making them easy to interface with. The STEMMA QT connectors on either side are compatible with the SparkFun Qwiic I2C connectors. This allows you to make solderless connections between your development board and the MCP9808 or to chain them with a wide range of other sensors and accessories using a compatible cable. QT Cable is not included, but we have a variety in the shop.
Each order comes with one fully assembled and tested PCB breakout and a small piece of header. You'll need to solder the header onto the PCB to use with a solderless breadboard. but it's fairly easy and takes only a few minutes even for a beginner.