


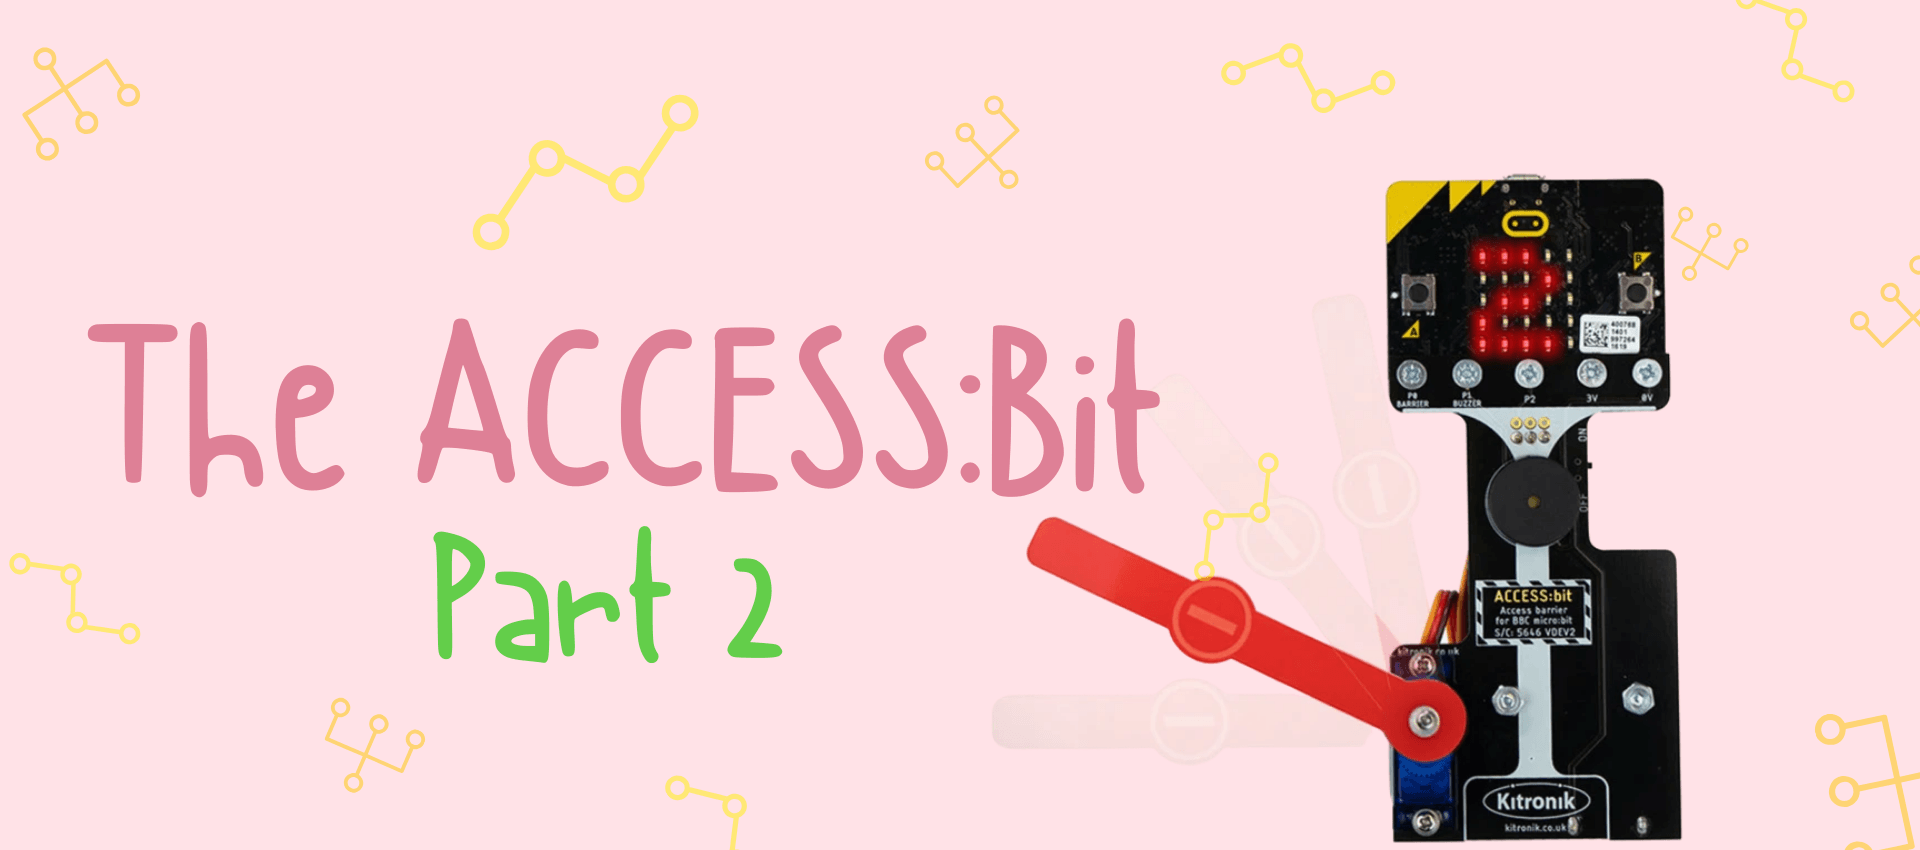
LEARN A MORE ADVANCED WAY YOU CAN CODE YOUR MICRO:BIT TO CONTROL THE ACCESS:BIT!
Now that you've learnt how to make the barrier go up and down by itself on my last blog, you can find out how to change how much the barrier moves by!
For this, you’ll need the following:
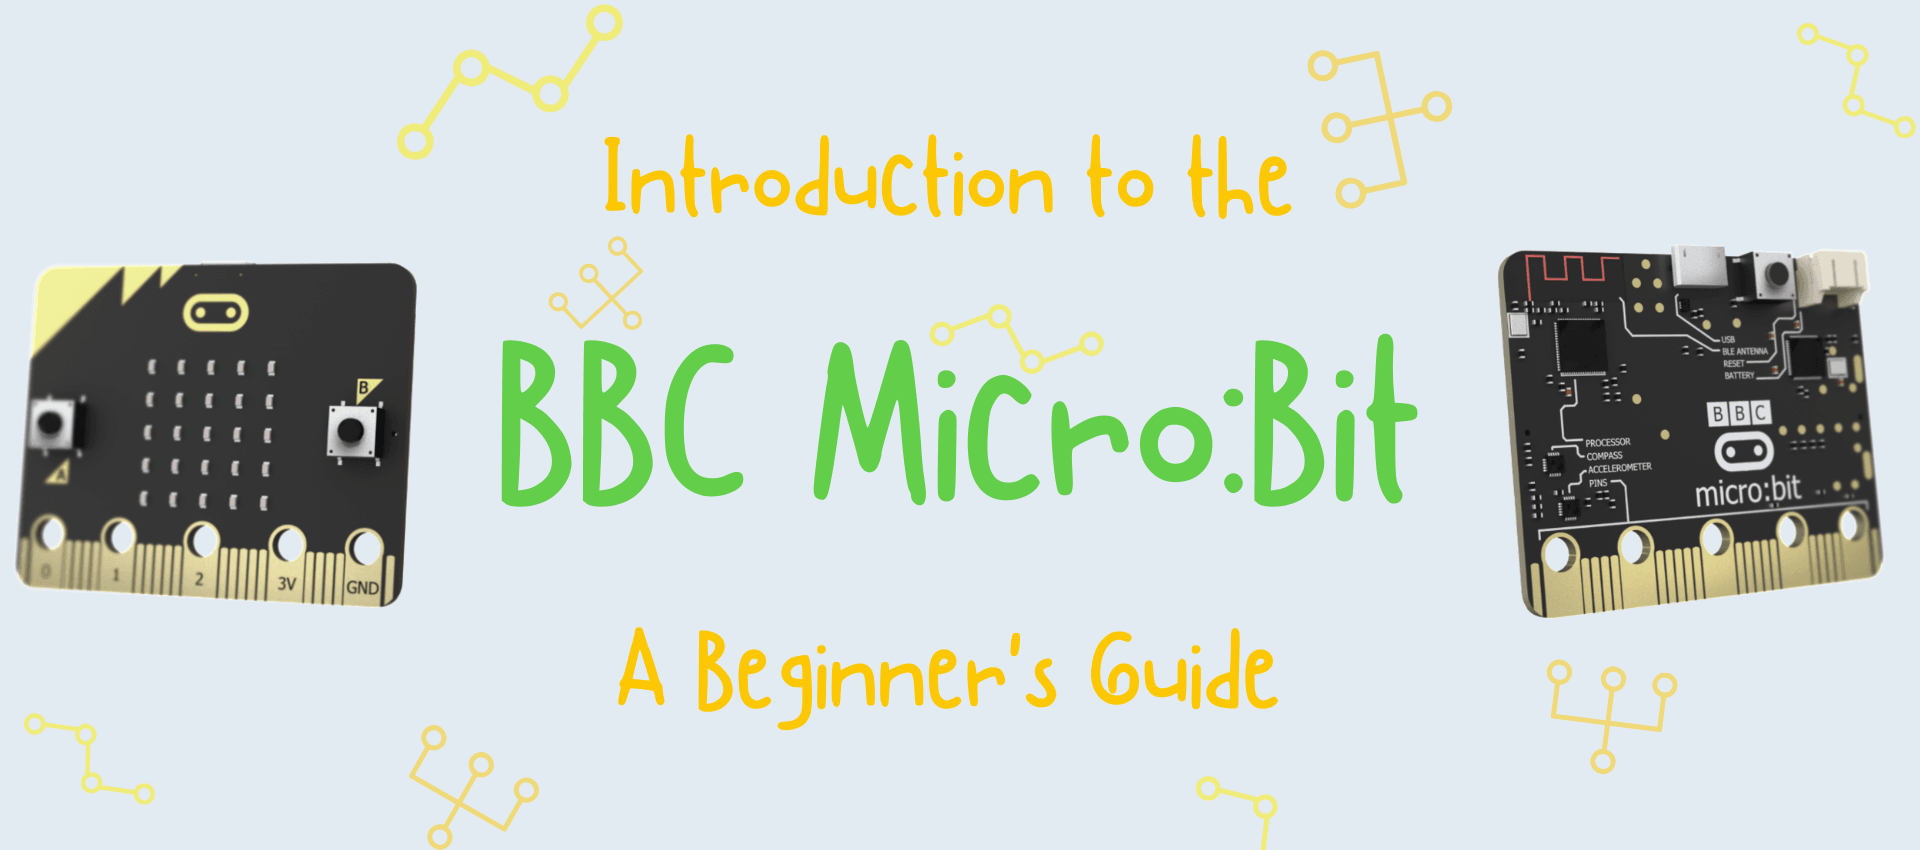
- BBC micro:bit
- ACCESS:bit
- Micro USB cable
- Computer/laptop with a USB port and internet access
- Pen and paper to plan your code
STEP 1:
First you need to make sure that when you turn your ACCESS:bit on, the barrier will be up. To do this, add a "on start" code block and add a "servo write pin" from the pin code blocks and set the number to 90. This tells the barrier to sit at a 90 degree angle.
STEP 2:
Next we want to make the barrier move when you press a button. Drag a button input code block into the program space and set the button to A, like this:
STEP 3:
To make it so that the barrier will move down and up one time after pressing the button, you need to add two servo write pin code blocks with a pause code block after each of them.
Make sure the first servo code block is set to 0 degrees and the second one is set to 90 degrees, so the barrier will go all the way down then back up. You can choose how long the barrier pauses for after moving, I chose to have mine pause for 1 second. Your code should kind of look like this now:
STEP 4:
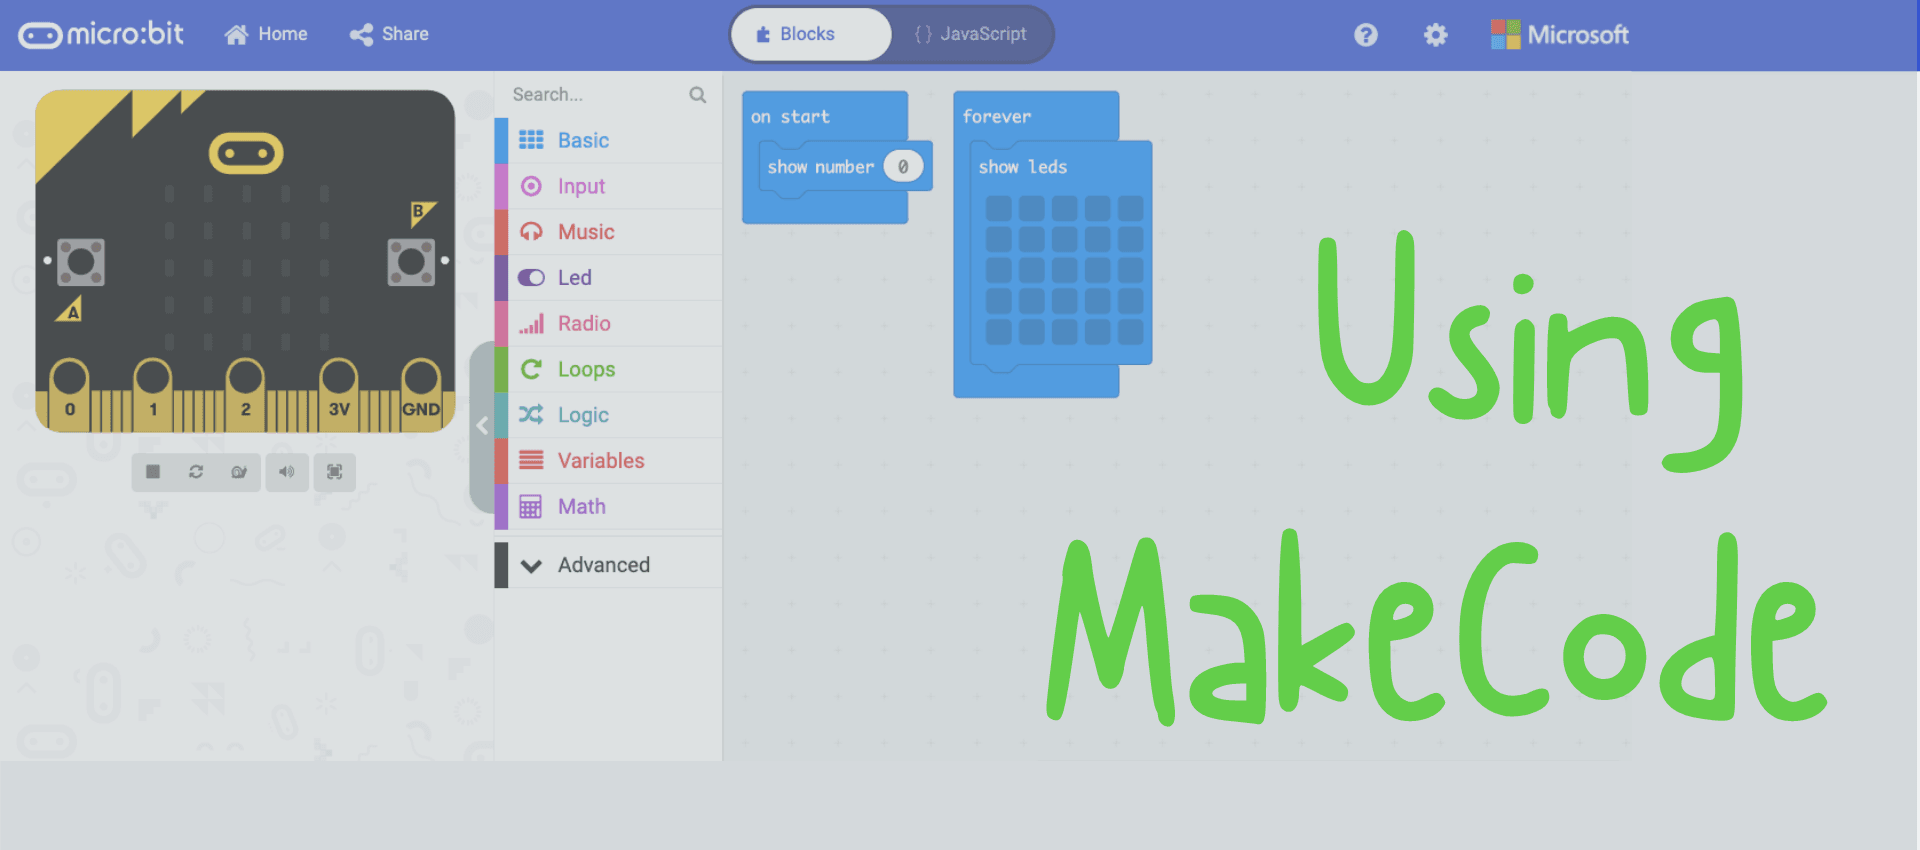
First, download the ACCESS:bit extension on MakeCode. When you turn yourACCESS:bit on, we want the barrier to be open (facing upwards). To do this, adda "on start" code block and add a "servo write pin" from the pin code blocks and set the number to 90. This tells the barrier to sit at a 90 degree angle.
STEP 5:
Next we want to make the barrier move when you press a button. Drag a button input code block into the program space and set the button to A, like this:
STEP 6:
To make it so that the barrier will move down and up one time after pressing the button, you need to add two servo-write pin code blocks with a pause code block after each of them.
Make sure the first servo code block is set to 0 degrees and the second one is set to 90 degrees, so the barrier will go all the way down then back up. You can choose how long the barrier pauses for after moving, I chose to have mine pause for 1 second. Your code should kind of look like this now:
The ACCESS:bit extension can be used to teach your class about angles since the servo motor can be coded to move to specific degrees. In this blog, I coded my micro:bit so that the servo motor would sit at either 0 degrees or 90 degrees, meaning it would either look open or closed. For more help planning lessons with the ACCESS:bit, you can contact Learning Developments.
READ NEXT:


Leave a comment (all fields required)