


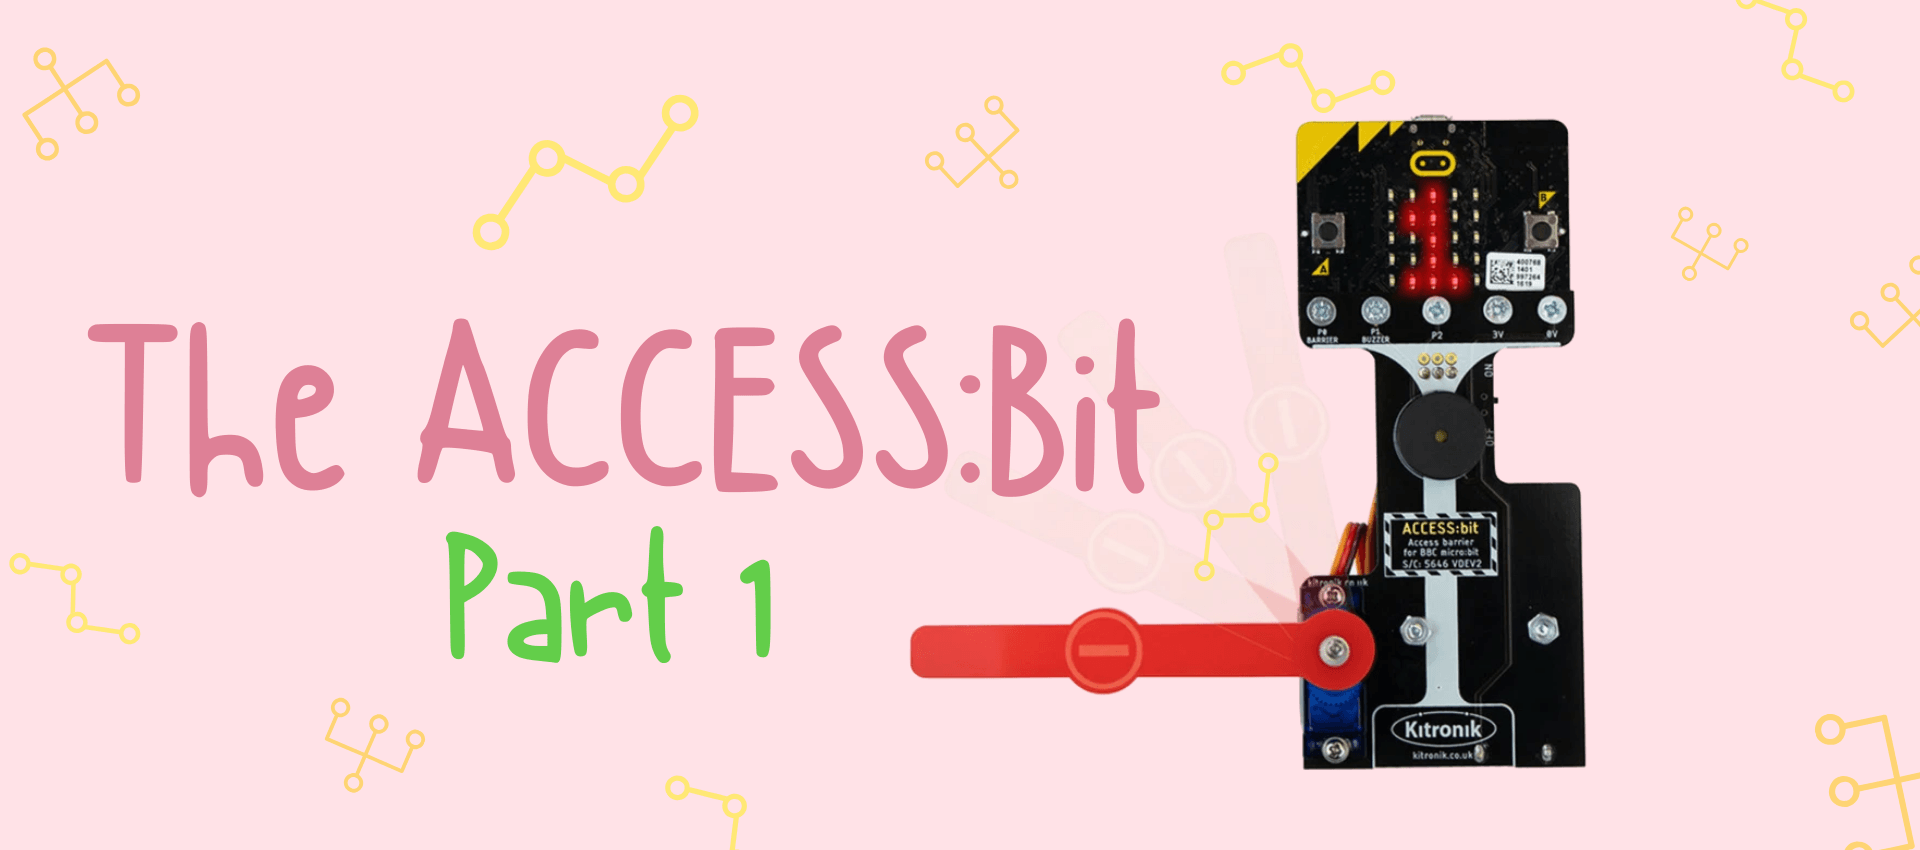
LEARN THE FIRST STEPS TO USING THE ACCESS:BIT EXTENSION WITH YOUR MICRO:BIT!
How do I code my micro:bit to control the barrier?
For this, you’ll need the following:
- BBC micro:bit
- ACCESS:bit
- Micro USB cable
- Computer/laptop with a USB port and internet access
- Pen and paper to plan your code
Make sure when you attach your micro:bit that it looks exactly like this photo.
Have a look at this Assembly Guide to see how to put it together.
STEP 1:
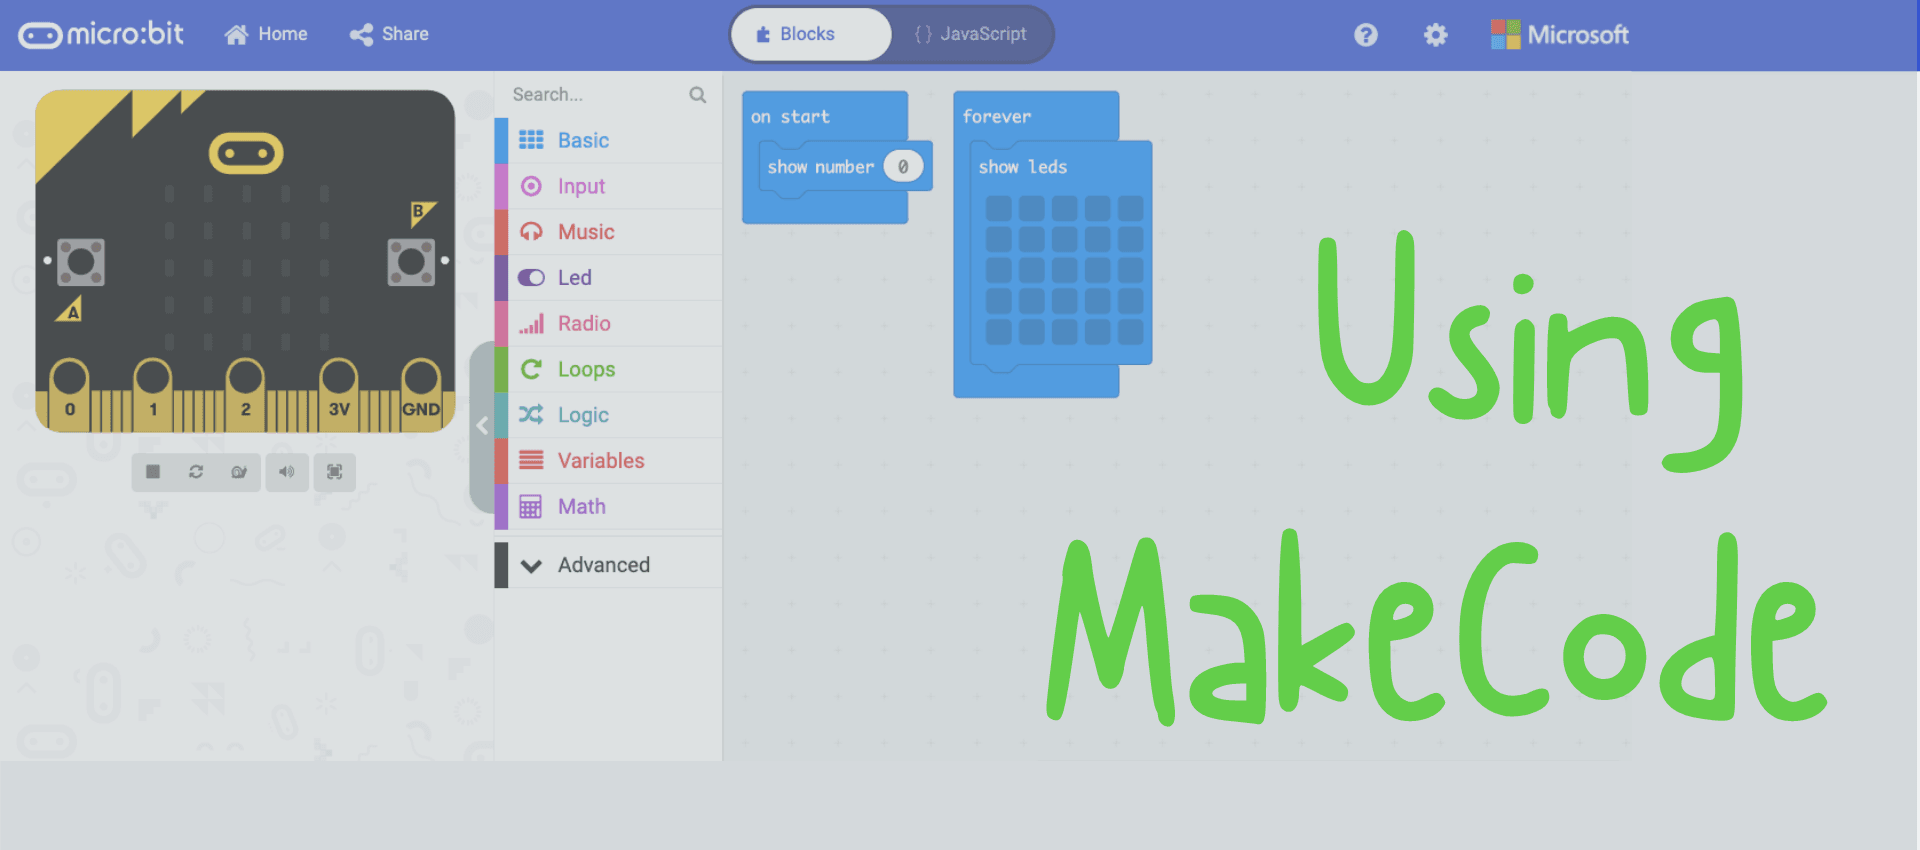
For this project, you'll need to download the ACCESS:bit extension on MakeCode. Once you've done that, the first thing to do is add an "on start" basic code block. We want the barrier to be down when we turn it on, so add a "move barrier" code block from the ACCESS:bit extension and change the action to "down". It should look like this:
STEP 2:
Now that the barrier will be down when you turn it on, you can add an input code block so the barrier moves when you press a button. I want the barrier to move when I press the "A" button, so I added this code block:
STEP 3:
Some of my blogs use extra accessories for the micro:bit, like the LAMP:bit. These need their own set of special code blocks, which you need to download. Click on the settings icon at the top of the screen, and go to "extensions".
Now you can search for any extra code blocks you might need! Click on the one you want to download, and the new code blocks should appear with the rest of the code blocks. In the screenshot below, I searched for the LAMP:bit.
STEP 4:
I got a bit stuck a few times when I was doing this activity, so it helps to have a Teacher or someone who can help you around just in case. Make sure your micro:bit is attached the same way as it is in the photo above this, otherwise the ACCESS:bit won't react to the code at all.


Leave a comment (all fields required)